Monday, December 3, 2012

Simple Chocolate Mousse

        Creamy, rich and delicious, mousse is a perfect dessert. It can be made beforehand and left in the fridge. Freeing you to make your main event dish without worrying about the finale. To fancy it up you can serve it in dark or milk chocolate cups, topped with whipped cream and a drizzle of chocolate sauce or chocolate shavings. But even served in a small dish by itself it makes a pleasing dessert.
       Chocolate also serves as a perfect base flavor. Since it combines so well with other flavors it's easy to add to a simple chocolate mousse. Try adding a tablespoon of strong coffee to make a mocha mousse. Or some peppermint oil or extract. You can also add vanilla, orange, almond, or hazelnut.

Simple Chocolate Mousse:
     The eggs in this recipe do not get cooked so try to use the freshest eggs possible to reduce risk of Salmonella.

Ingredients:

  • 3 large eggs, separated, at room temperature
  • 3 1/2 ounces of bittersweet chocolate, chopped
  • Pinch of salt 
  • 1 1/2 teaspoons of sugar, divided in half
  • Whipped Cream, to top
In microwave or over the stove melt chocolate until smooth. Remove from heat.
Quickly, whisk in egg  yolks. Then set aside.
Beat egg whites with salt in a clean bowl until soft  peaked.
Add sugar and continue beating until stiff peaked and glossy.
Lighten chocolate mixture by folding in a quarter of of the egg whites.
Then fold chocolate mixture into remaining egg whites. Be careful not to over mix, it is better for the mixture is streaked than overmixed. 
Divide into four bowls, refrigerate for at least four hours, or up to a day.
Remove from fridge just before serving.

Adding Flavor:
After melting chocolate whisk in a tablespoon of strong coffee, a 1/4 tsp. peppermint oil or 1/2 tsp. peppermint extract, 1 tsp. vanilla extract, or 1/4 tsp. orange oil with egg yolks.


Pumpkin Spice Cookies

        In late fall the pumpkin flavor comes out. Between Halloween and October, as uncarved pumpkins soften they're cooked into pies, tarts, soups, and cookies. These pumpkin cookies are really cookie cakes, they're light, airy, soft and moist, but firm enough to be eaten without falling apart and are baked on cookie sheets, taking as much time as a cupcake takes to bake.
        I found this recipe in the back of King Arthur Flour's Cookie Companion. Usually, I'm a cake and pastries type of girl, but it was the day before Thanksgiving Break, and I wanted to make a holiday themed treat for my friends. I remembered, years ago, that my mother used to make delicious pumpkin cookies. So flipped to the back of the Cookie Companion's index and looked up pumpkin. There was only one recipe, this one. It wasn't even for cookies, it was for a whoopee pie.
      I am not a fan of whoopee pies. If anything should be sandwiched between to cookies it should be ice cream. There's also the texture, a thick creamy filling with two soft cookies beside it. Overall whoopee pies are mushy, sickeningly sweet, cookies. Maybe it's those cheap gas station whoopees that first gave me this dislike but it has stuck with me, no matter where the cookie comes from. However, dislike of whoopee pies is not genetic, my mother loved whoopee pies. She was constantly in search of a good recipe, so I considered it, and decided she must have stumbled upon this recipe and decided they make better cookie than whoopee pies.
        They do. Unlike other recipe these cookies are not very sweet, so the pumpkin and spice flavor comes through loud and clear. They bake longer than other cookies, but that's just to firm up the exterior, to keep it from being sticky and annoying. They're best when topped with a little vanilla confectioners sugar icing.

Spicy Pumpkin Cookies from the King Arthur Flour Cookie Companion:

Cookies:

  • One 15 oz. can of pumpkin puree.
  • 2 large eggs
  • 2 cups dark brown sugar
  • 1 cup vegetable oil
  • 2 tablespoons molasses
  • 1 teaspoon salt
  • 1 teaspoons ground cloves
  • 1 teaspoon ground ginger
  • 1 teaspoon saigon cinnamon 
  • 1 teaspoon baking powder
  • 1 teaspoon baking soda
  • 3 cups all purpose flour
Icing:
  • 2 cups confectioners sugar
  • 1/3 cup milk
  • 1 teaspoon vanilla extract.
Preheat oven to 375 F. Line to backing sheets with parchment paper.
In a large bowl or stand up mixer beat pumpkin, eggs, brown sugar, oil, and molasses. 
Add in salt, spices, baking powder, and baking soda, then mix well.
Beat in flour all at once, then beat for 2 minutes.
Using a 1/4 measuring cup drop batter onto baking sheets 2 inches apart from each other. 
Bake for 15 to 20 minutes.

When cookies have cooled:
Beat all icing ingredients together until smooth.
Drizzle icing over cookies.


Wednesday, November 14, 2012

Fantastic Fudge

        Everyone loves fudge. It's thick, sweet, creamy, chocolaty, delicious, the adjectives go on and on. But fudge is trick to make, or at least, I used to think so. It is if you use a Betty Crocker Cookbook, as I always have. About three weeks ago I gave up. I was tired of stirring in flour and ______ to get fudge that was only smooth half the time. So I went online, I waded through the recipes that called for condensed or evaporated milk, because I didn't have those and I needed fudge, ASAP! After a while a realized I could just substitute a heavy cream and milk combination for evaporated milk and I would get the same results. So I picked a recipe with five stars and took a swing at it.  It came out alright, but it didn't have that chocolate kick I needed. So the next time I changed some of the semisweet chocolate to bittersweet. BOOM! A strong chocolate flavor shone through. With many thanks to the original Carnation recipe, I proudly present:

Deep Dark Chocolate Fudge!

Ingredients:

  • 2 tbsp. unsalted butter
  • 1/3 c. heavy cream (Be generous)
  • 1/3 c. whole milk
  • 1 1/2 c. granulated sugar
  • 1/4 tsp. salt
  • 1 c. semisweet chocolate chips
  • 3/4 c. bittersweet chocolate chips.
  • 1 1/2 tsp. vanilla extract
  • 1/2 c. chopped pecans or walnuts (optional)

  1. Line a loaf pan with tin foil, wax paper or parchment paper. 
  2. Melt butter in a medium sized, heavy bottom sauce pan.
  3.  Add cream, milk, sugar, and salt. 
  4. Stirring constantly, bring to a boil. Boil for five minutes.
  5. Remove from heat, vigorously stir in both chocolates, vanilla, and nuts.
  6. When mixture is smooth pour into prepared pan. 
  7. Cool in a fridge for at least 30 minutes. 
Note: If you are making a double batch use a 9"x 9" pan. Also, double batches take much longer to thicken, allow at least two hours for cooling. 

Wednesday, October 31, 2012

Beautiful Buttercream, German Buttercream

         In the past year I've encountered five different kinds of buttercream frosting. There's the American Buttercream, which is butter (or sometimes cream cheese), powdered sugar, milk or cream, and flavoring. Despite being a classic, most recipes for this frosting produce something sickeningly sweet that sucks the life out of the item it decorated. The next two buttercreams: French and Italian require a sugar syrup. Heating sugar up to 240 degrees and then slowly beating it into egg whites (Italian) or egg yolks (French). The problem with this method is that if you use a handheld mixer (I do) it's difficult to beat the syrup evenly into the egg whites, and if you don't beat it evenly you'll get rock hard chunks of sugar in your buttercream. Also, making sugar syrup requires standing next to the stove to make sure the sugar doesn't heat past the softball stage. It also requires perfect timing, so that your eggs form glossy stiff peaks, just as your sugar hits 240. Very difficult to do. So that leaves two other buttercreams: German and Swiss. Both are delicious and easier than French and Italian.
       Swiss Buttercream, like Italian buttercream this frosting is based on egg whites, buttter, and sugar. Except instead of cooking the sugar and then adding it to beaten egg whites, Swiss Buttercream is made by combining the eggs and sugar until 160 degrees, at which point all proteins coagulate and Salmonella dies. After this the mixture is beaten and butter is added. It's much easier and simpler than French or Italian methods, but equally fluffly and light.
       German Buttercream is very different from any other buttercream. It's rich like the American Buttercream, but not as sweet. It's also denser than Italian, French and Swiss frostings. It might no be as simple as the Swiss version but it is delicious and indulgent. It is my preferred buttercream. It starts with making  pastry cream, after the pastry creams is cooled, and equal amount of softened butter is added, and then the frosting is beaten until smooth. Of course the reason it's so good: fat. German Buttercream has butter, egg yolks, and whole milk in it, which is why you don't need as much of it to cover cakes and cupcakes.

German Buttercream:
  • 3/4 whole milk
  • 1/3 granulated sugar
  • 1 1/2 tsp. cornstarch
  • 1/2 tsp. salt
  • 4 egg yolks
  • 2 tsp. almond extract
  • 1 cup. unsalted butter (chopped into 1 tbsp. segments)
Stir milk and half of sugar together in a saucepan. Heat to just boiling.
While milk is heating, combine the rest of the sugar, cornstarch, and salt. Then add eggs.
Temper eggs with milk, then pour back into saucepan.
Heat until the cornstarch begins to thicken the cream, then keeping on heat for 30 seconds.
Remove from stove, add butter and stir until covered.
Let stand for five minutes.
Beat on low until combined. Let cool.
When cooled beat in almond extract.
Spread or pipe onto your dessert.

Chocolate Variation:
Increase milk to 1 cup, sugar to 1/2 cup, leave almond extract out. After adding butter, beat in 2/3 cup unsweetened cocoa powder.

Sunday, October 21, 2012

Mint Truffle Cookies

See my how to video at vimeo.com, use password "Baking" to view. Or just follow the recipe below:


Mint Truffle Cookies (a variation from allrecipes.com)
Chocolate and mint are one of my favorite flavor combos on the planet. I found truffle cookies without mint too overwhelming with chocolate, mint softens the sweetness and highlights the chocolate flavor. These cookies are soft and chewy, perfect for a chocoholic.

Ingredients:
8 (1 ounce) squares of unsweetened chocolate, chopped

Tip: If you don’t have unsweetened chocolate mix together three tablespoons of unsweetened cocoa and one tablespoon of melted butter.
2 cups semisweet chocolate chips
¾ cup un salted stick butter
6 eggs
2 cups white sugar
1 tablespoon  of vanilla extract
⅛ teaspoon of peppermint oil
1 cup all purpose flour
2 tablespoons black cocoa
2 tablespoons double dutch process cocoa
½ teaspoon baking powder
½ teaspoon of salt
2 cups semisweet chocolate chips

Directions:
1. Melt butter in microwave or on stove.
2. Combine unsweetened chocolate and 2 cups semisweet chocolate chips and slowly melt until smooth.
3. Mix melted butter and chocolate thoroughly.
4. In a large bowl combine eggs and sugar until thick and pale (at least 2 or 3 minutes).
5. Stir vanilla and chocolate mixture into eggs until completely combined.
6. Add in peppermint oil and mix well.
7. In separate bowl dry whisk flour, cocoa, baking powder and salt.
8.Stir into flour mixture into chocolate batter in halves.
9. Fold remaining cups of chocolate chips into batter.
10. Split dough into two bowls and chill for at least two hours.
11. Preheat oven to 350 degrees F.
12. Wash your hands.
13. Take one bowl out and roll into 1 inch balls. Place balls on ungreased cookie sheets, 2 inches apart.
Tip: If your cookie sheets are bent or warped, make sure to press cookie dough balls onto the tray otherwise they will role towards the center.
14. Alternate bowls between chilling and rolling dough, to decrease to stickiness of the dough.
15. Bake for 13-17 minutes on center rack.
16. Allow cookies to cool for at least 15 minutes before removing from baking sheets.

Saturday, October 20, 2012

Fancy Ding Dongs

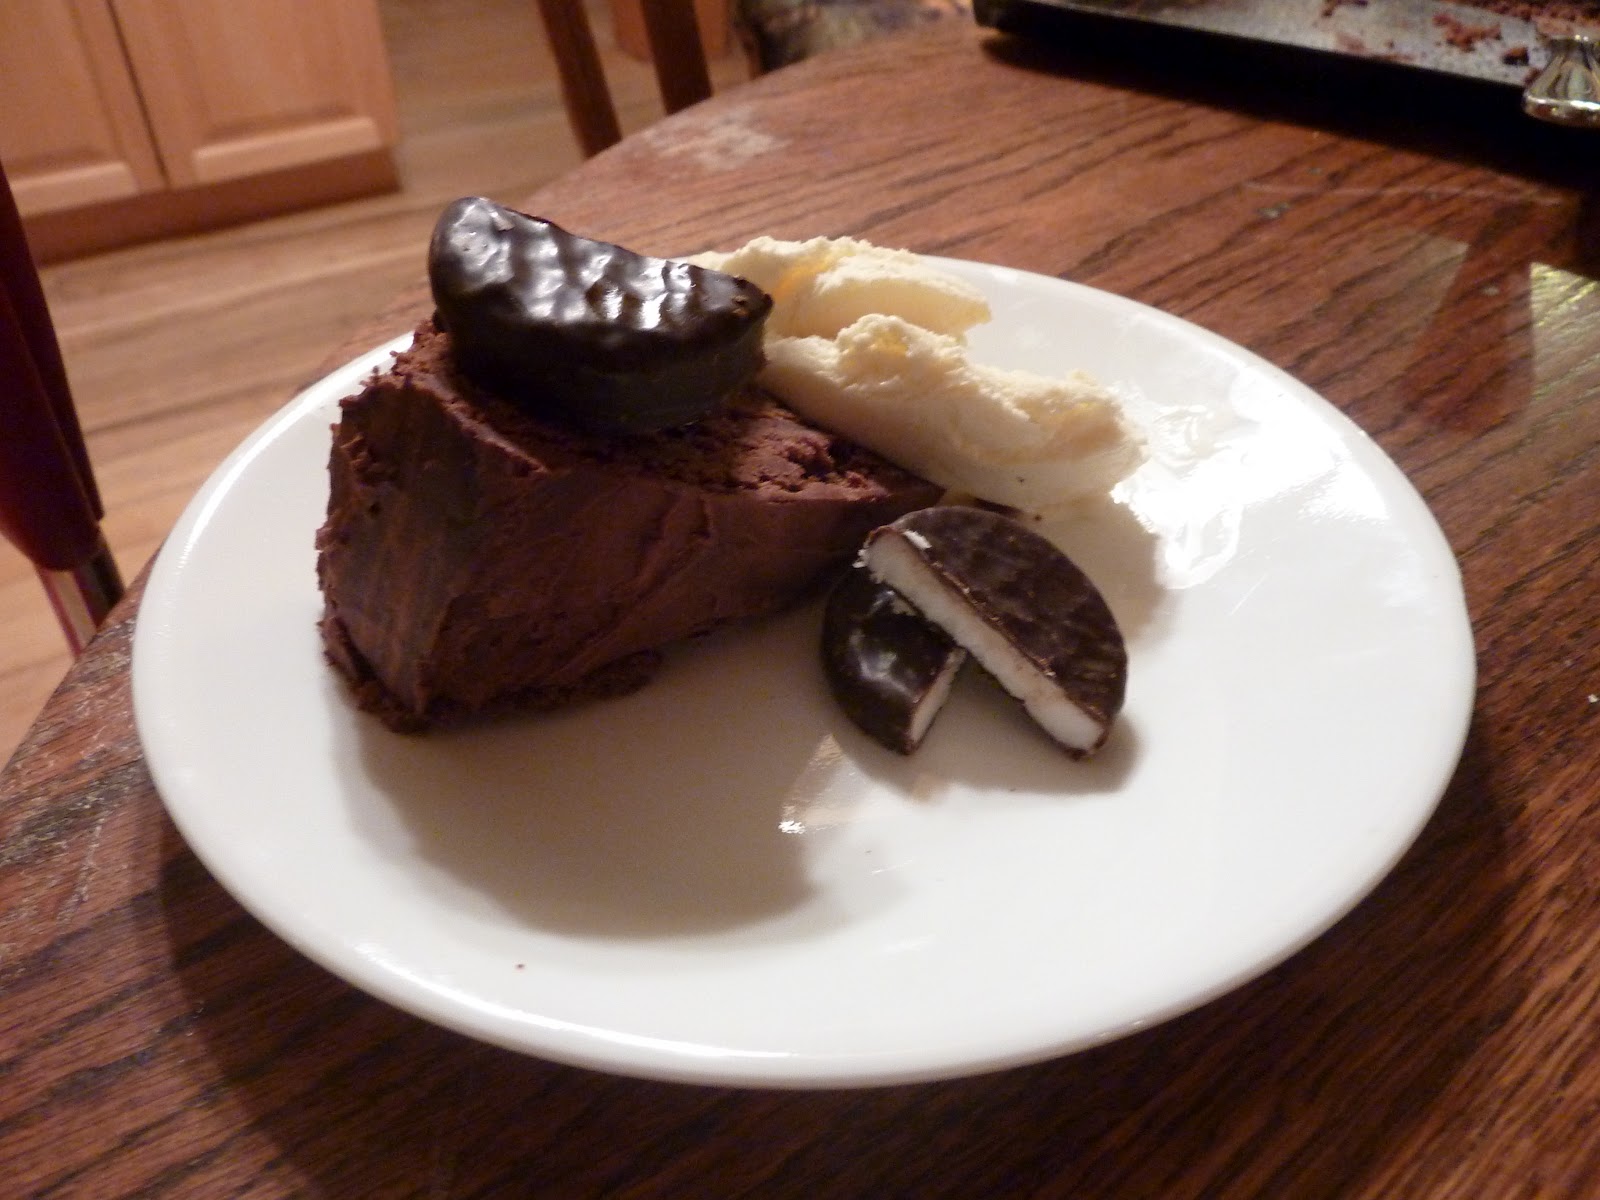
         Earlier this week I threw together some chocolate fudge cupcakes, then because it was late I quickly filled them with a strongly vanilla flavored whip cream, and topped them with chocolate ganache.  When I brought them in they were a hit, then during lunch my art teacher came up to me, and said, "Good cupcakes, they were like fancy ding dongs." As much as I like gas station food on road trips, I was a little worried.  So I added some more expression powder (there was already some), and switched the water for coffee. Then, I added some coffee extract to the filling and ganache.
       
Chocolate Expresso Fudge Cupcakes:

Ingredients:

  • 2 cups sugar
  • 1 3/4 cups All Purpose Flour
  • 2 tbsp. cornstarch
  • 1 cup Hershey's Unsweetened Cocoa Powder
  • 2 tsp. baking powder
  • 1 tbsp. expresso powder
  • 1/2 tsp. baking soda
  • 1 tsp. salt
  • 4 large eggs
  • 3/4 cups vegetable oil
  • 1 tbsp. vanilla extract
  • 1 1/4 cup strong coffee   
Preheat oven to 350 F. 
Mix all the dry ingredients together: sugar, flour, cornstarch, cocoa powder, baking powder, expresso powder, baking powder, and salt. 
Mix all wet ingredients together: eggs, oil, vanilla extract, and strong coffee.
Then add wet to dry gradually, beating until fully combined.
Pour into a lined cupcake pan and bake for 25-30 minutes.
Cupcakes are done, when a toothpick is inserted to cupcake comes out clean. 

Vanilla Coffee Whip Cream:

Ingredients:
  • 3/4 cup heavy whipping cream
  • 1/2 tbsp. expresso powder
  • 1/4 cup granulated sugar
  • 1 tbsp. good quality vanilla
After you put the cupcakes in the oven, heat cream in heavy bottomed pot over low to medium heat until simmering.
Add expresso powder and stir until dissolved.
Remove from heat, pour into a container.
Place plastic wrap directly on top of cream, to prevent skin from forming.
While cream is cooling, place a medium sized bowl and beaters in freezer. Cream whips best when cold.
After cream has cooled remove plastic wrap and pour into cold bowl.
Beat until soft peaks have formed.
Add sugar and vanilla extract. Beat until stiff peaks have formed.
Refrigerate until ready to use.


Construction

 Materials:
  • pastry bag 
  • scissors
  • small knife
  • a rimmed baking sheet lined wax or parchment paper
When cupcakes are cool and filling is made begin construction.
With knife cut a deep cone shape out of the top of the cupcakes (about 1 1/2 inch diameter and about an inch deep).
Fill pastry bag with whip cream and cut the tip until it's 1/2 inch across.
Pipe empty cupcakes full of filling, until even with the top of the cupcake. 
Place cupcakes upside down on lined baking sheet and refrigerate.


Chocolate Expresso Buttercream:


Ingredients:
  • 1 cup whole milk
  • 3/4 cup granulated sugar
  • 2 tbsp. cornstarch
  • 1 tsp. salt
  • 6 egg yolks
  • 1 1/4 cups unsalted butter
  • 3/4 cup unsweetened cocoa
Combine milk and half of the sugar in a heavy bottomed and heat until just boiled.
While milk is heating, mix cornstarch, sugar, and salt together. Then beat in egg yolks.
Temper milk into eggs (while whisking egg mixture very fast while slowly pouring hot milk into it).
Chop butter and put in a large bowl. Pour pastry over butter and let sit for 5 minutes.
Mix together, and then add cocoa powder.
Let cool.

Construction 2:

Materials:

  • Pastry bag
  • Star tip
  • Remove cupcakes from refrigerator, put plastic aside.
Fill pastry bag with frosting and decorate cupcakes however you want.
Place cupcakes right side up on baking sheet and refrigerate for 20 minutes.


Tuesday, October 16, 2012

Bake Wise: The Best Cocoa Powder

           About three years ago I made a switch from Shaw's Baking Cocoa to Ghirardelli Unsweetened Cocoa. However, Ghirardelli is expensive! So as a result I baked chocolate sparingly, but I least it was good quality and delicious when I did bake it. Right? Wrong. Taster's in a Cook's Illustrated study said that Ghirardelli had a "smooth but undistinguished" flavor. In conclusion their study recommended it with reservations. Even more of a surprise to me was the cocoa powder that got the best reviews and therefore the most recommended cocoa, Hershey's Cocoa Natural Unsweetened. At 44 cents an ounce it's 12 cents cheaper per ounce than Ghirardelli's cocoa.
          Hershey's nib roasts their cocoa beans, meaning they shell them before roasting them. In fact, the top three brands all nib roasted. Of the four recommended cocoa powders Hershey's came in first and third, with Hershey's Cocoa Natural Unsweetened and Hershey's Cocoa Special Dark, second was claimed by Droste Cocoa, and fourth by Valrhona Cocoa Powder. Powders by Ghirardelli, Scharffen Berger, Nestle, and Equal Exchange were recommended with reservations.
          Cook's Illustrated tested fat content, roasting style, price, particle size, and Dutched or natural. Not only were top brands nib roasted, they had smaller particles creating a larger release of flavor. Whether a powder was expensive, fatty, or Dutched did not make a significant difference.

Tuesday, September 25, 2012

On the Shelf: The Cake Cookbook

          Many cookbooks have good cake recipes, but few have exclusively good cake recipes. All Cakes Considered by Melissa Gray is one of those cookbooks. Melissa Gray is a staff member of the radio show All Things Considered, a year of baking cakes and testing them on her coworkers has produced this wonderful book. It’s small and thick, the kind of book that fits on a bookshelf, with carefully worded directions and stories this book quickly became one of my favorite baking books. Whenever I’m in the mood for a moist rich cake (which happens a lot) I reach for this book, and flip through the pages until a found the perfect cake.
Dark Chocolate Peppermint Patty Cake
Triple Chocolate Orange Passion Cake
Tunnel of Fudge Cake
         I love this book for many reasons. The first of which is that it is geared towards the baking beginner. It's directions are straightforward, easy to follow, and detailed. The difficulty of the cakes progresses with the book, the final cakes have as many as six layers. With each new technique comes an introductory paragraph explaining why, when, and how to use the new skill. As a woman with a full time job most of the cakes Gray has put in this book are not time consuming or complex. There are a exceptions such as the Heaven and Hell cake and the Dark Chocolate Peppermint Patty cake, but these are well worth the time, frustration, or both that it takes to make them.  
          Another reason to love this book is the diversity of the cakes. There is a cake for everyone in this book, from Sweet Potato Pound to Devil's Food with Raspberry jam to Rum Drenched Vanilla Cake this book has it all. With bundt cakes and layer cakes, with angel food cakes and fruity cakes, this book has a cake for every special occasion, holiday, and season.  It appeals with many different tastes and textures. Despite the different recipes there is not a multitude of special ingredients needed to make these cakes. Most frostings are milk, water, or cream cheese based, and most cakes use flavorings found in an ordinary kitchen, making these cakes affordable as well as delicious. There are also very few pans needed in this recipe, all but a few recipes call for either two eight or nine inch round pan, or a bundt pan.
With her witty personal stories about each cake and the troubleshooting tips this book is an entertaining read as well as a solid cookbook. Gray slips in bits of her life surrounding baking give you peeks of sexist uncles and cranky ovens, similar to the problems we all face. Through enjoyable accounts of sticky situations she offers advice on buying ingredients, finding good recipes, and traveling with cakes. With her sage insights, her book teaches you how to be a baker as much as it teaches you how to bake cakes.
This book is full of great recipes and stories, after owning it for just a few months the pages of my copy were already sticky and spattered with batter. It’s a book that’s easy to love and use. The cakes range from fancy and chocolatey to simple and spicy, and back again. This is one of the best gifts I’ve ever received, I unwrapped it on Christmas morning four years ago, and I never stopped baking from it.  

Monday, September 24, 2012

The Chocolatevore's Dilemma


          There are so many recipes for chocolate chip cookies out there. All resulting with different textures, flavors, and ratios of chocolate to dough. Everyone likes a different recipe, and there are some recipes that no one likes at all. So I created an experiment, on Sunday my friend Fiona and I baked a batch of chocolate chip cookies using the recipe on the batch of the Nestle Chocolate Morsels package, then after Fiona left I baked three more batches, using a different recipe for each one. Through out the course of Sunday I made a batch of chocolate chip cookies from One Girl Cookies Cookbook, a batch from King Arthur Flour's Cookie Companion, and one batch using a recipe adapted from foodnetwork. Most of the batches turned out fine, but then in the eleventh hour, tragedy struck. As I was taking the final batch of cookies out of the oven (they were of the King Arthur Flour batch), one of the baking sheets and I got into a fight. In the end I came out victorious, but not before the sheet claimed the lives of sixteen innocent cookies and burned my arm and wrist. So what was a successful day was tarnished in the final hour. 
          Overall the cookies came out well, some a little more golden than called for, but overall well. The Nestle's, One Girl, and foodnetwork recipes started out the same, with a fat and sugar base. The King Arthur Flour had a fat and sugar base as well, but in that base also has vinegar and light corn syrup. What I learned about chocolate chip cookies on Sunday was that most recipes are pretty much the same with slight variations. The amount of flour will variate from 2 1/4 cups to 2 3/4 cups, vanilla extract changes between one teaspoon and one tablespoon, and the amount of butter or vegetable shortening will be between 1/2 cup and 1 1/4 cup. Generally the cookies with more flavor have more vanilla and more dark brown sugar than granulated sugar. All the cookies baked for the same amount of time, and cooled for the same amount of time. So what I learned is that most chocolate chip cookie recipes are mostly the same.
From left, King Arthur Flour, food network.com, Nestle's, and
One Girl Cookies.
          There was one exception however, the most difficult cookie to make was by far the King Arthur Flour Essential Chewy Chocolate Chip Cookies. It started with having to put in corn syrup which is a pain even if you grease the spoon your using to measure. After mixing the batter together I realized that this dough is much stickier than the other three were. While the cookies baked they slide together since my baking sheet was a little warped. Then while I was rotating them, I burned myself and dropped half of them. However the most annoying part of these cookies is getting them of the pan. Instead of popping off like the other batches these had to be peeled up with a spatula, most of them broke into pieces. Even if these were the unanimously  best chocolate chip cookies I don't think I would make them again. 
          Because they are so hard to make, it is unfortunate that the KAF recipe got the most votes. However, since I only got 31 on votes, and all the cookies were within 3 votes of each other, I can't draw any conclusions. I will redo the experiment soon with a larger amount of people.
Until then here is the data from this time:
One Girl Cookies: 8
King Arthur Flour Essential Chewy Chocolate Chip Cookies: 9
Chewy Chocolate Chip Cookies (adapted): 8
Nestle's Chocolate Morsels Recipe: 6
I did learn that my teacher's favorite kind of chocolate chip cookies are King Arthur Flour's, which will come in handy when I need someone to write a college recommendation letter. In the end, the only conclusion I can make is that I need to do more research and test my cookies out on a larger crowd. I can however, say, that the King Arthur Flour cookies are the hardest to make. Until I finish my experiment I'll give my favorite recipe, adapted from the food network. 


My Favorite Chocolate Chip Cookies

Ingredients:
2 3/4 cup all purpose flour
1 tsp. salt
1 tsp baking powder
1 tsp. baking soda
1 tbsp. espresso powder
1 ¼ cup unsalted butter
1 1/2 cup dark brown sugar
1/2 granulated sugar
2 whole eggs
2 tsp. vanilla extract
2 ½ cups semi-sweet chocolate chips

Directions:

  1. Preheat oven to 375 degrees
  2. Dry whisk flour, salt, baking powder, baking soda, and espresso powder  in a medium sized bowl.
  3. In large bowl, with an electric beater mix the brown sugar, granulated sugar and butter together on medium to high speed for 2 minutes or until mixture becomes pale and fluffy.
  4. Add eggs, one at a time. Combining thoroughly between and after.
  5. Add vanilla, and continue mixing for 1 minute.
  6. Add in flour mixture all at once, and beat until combined.
  7. Stir in chocolate chips by hand.
  8. Drop heaping tablespoons of dough on greased cookie sheets 2 inches apart.
  9. Bake for 12 minutes.
Tip: If using two racks in the oven, switch baking sheets halfway through.
  1. Let cool for 15 minutes and transfer to cooling racks.